Finally after 8 months of dealing with many of life's issues ...... (You know, those unanticipated situations thrown at you when your least expecting it!) its finally time to update our airstream blog.
After our last update in May 2006, my four-footed companion of 11 years, lost his 20 month battle with doggy cancer on June 15, 2006.
"CEASAR" -rest in peace my friend.... (there's a photo of him in our last blog)
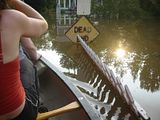
Then in early July, the Delaware River flooded our town. We woke to find two feet of water inside my shop. After draining the river out of the gallery, we spent our days
cleaning, repairing and painting. We worked all day from early morning to midnight, but did find time for a mid-day canoe trip through town!
Two weeks after the gallery was up and running, an apartment close by became available for rent. With little thought we decided it was time for us to get a place together. Before we were able to move in, we spent another week
cleaning, repairing and painting. By August 3rd we were completely settled in, but Will couldn't take a break until the airstream was on the new property. We parked the airstream at its new home and took the rest of the month off to relax and do some mountain biking before the summer ended.
In early September, to help get our project back in motion, we decided to purchase aluminum sheeting for the interior. After much research, and the unwillingness to pay $6000, we found a supplier two hours away in South Jersey who charged half as much.... still not cheap, but, It will be worth it to see the airstream clean and shiny inside! We parted with the money and picked up the sheeting in a flat bed trailer that we borrowed.... Thanks Dad! To protect the new aluminum shine, we covered the sheets with a tarp until we were ready for the installation.
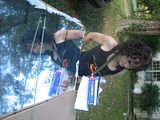
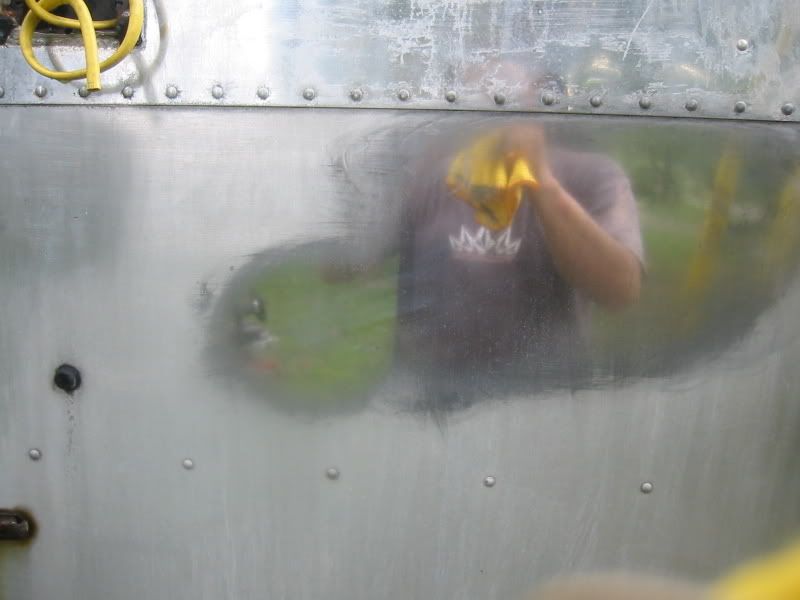
The airstream needed a good cleaning before we could start polishing the exterior. We borrowed a pressure washer from a neighbor to help get the job done. Will climbed on top of the roof and sprayed the exterior from top to bottom.....then he started to spray the trucks..........me.........and Opal!
 Will having fun with his new toy!
In the world of airstreams, there is much controversy about how and what to use for polishing the aluminum. After reading many opinions on the airstream forums, we decided on a high grade polish that is also used to polish aluminum airplanes. Will wanted to test it out before he handed the job over to me. It took about 20 minutes to do a 1 x 2 foot section. We're both excited to see the entire airstream polished to a mirror finish!

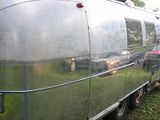
It took me until mid-October to finish the bottom half!
(photo on right)
The trailer hitch was rusty and the paint was peeling off. Instead of buying new one, I took most of the rust off with a steel brush, cleaned it and sprayed it with a metal primer. I found a silver Krylon spray paint to cover up the old hitch....She's a shinin' now!

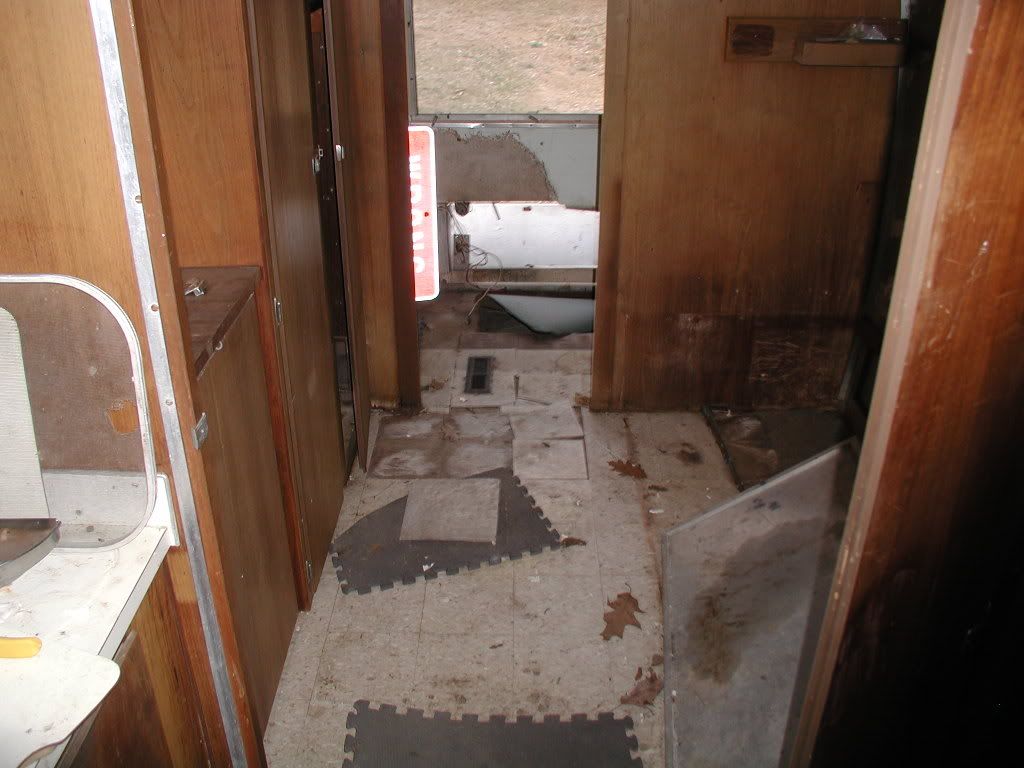
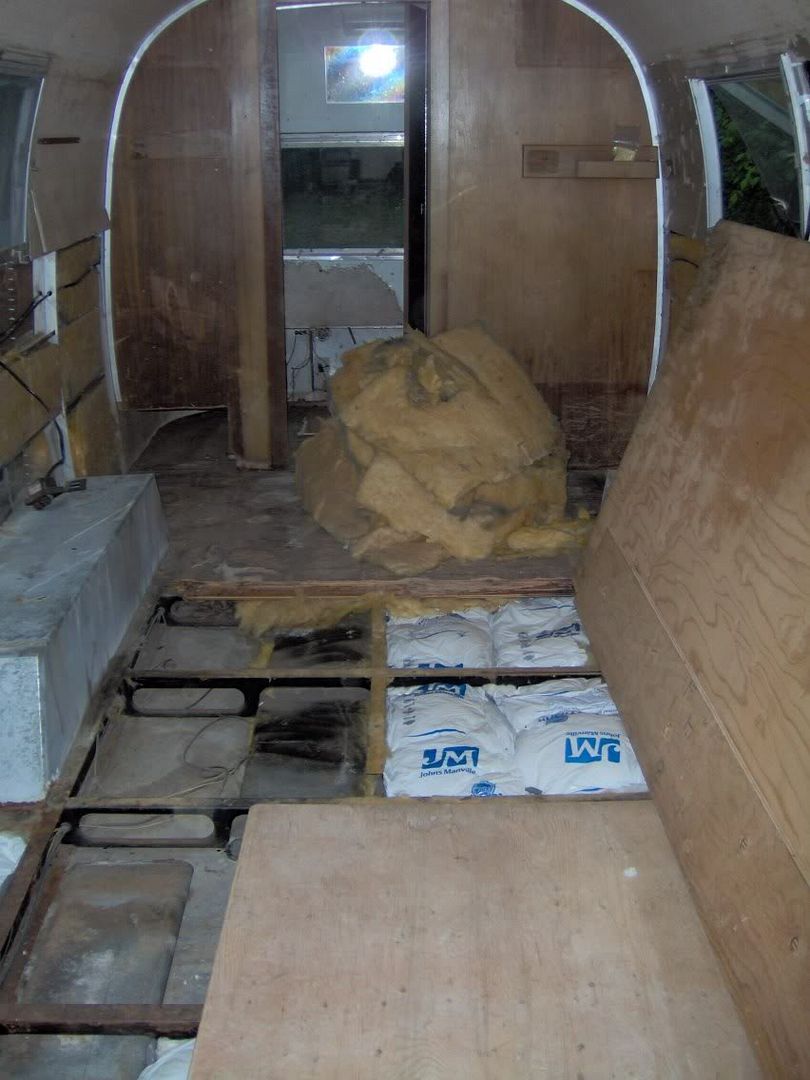
The interior walls needed fresh insulation. Since we are only working on one section at a time, I insulated the front end. This is where the sitting and eating area will be.

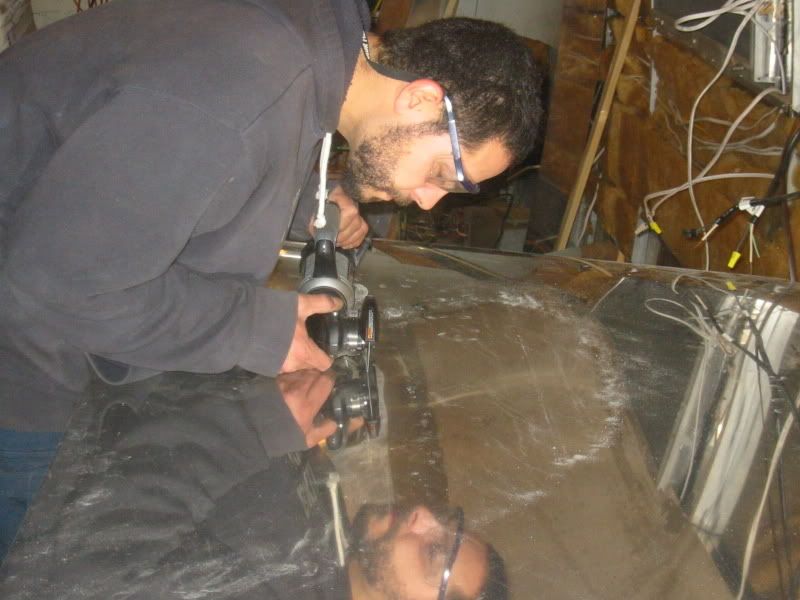
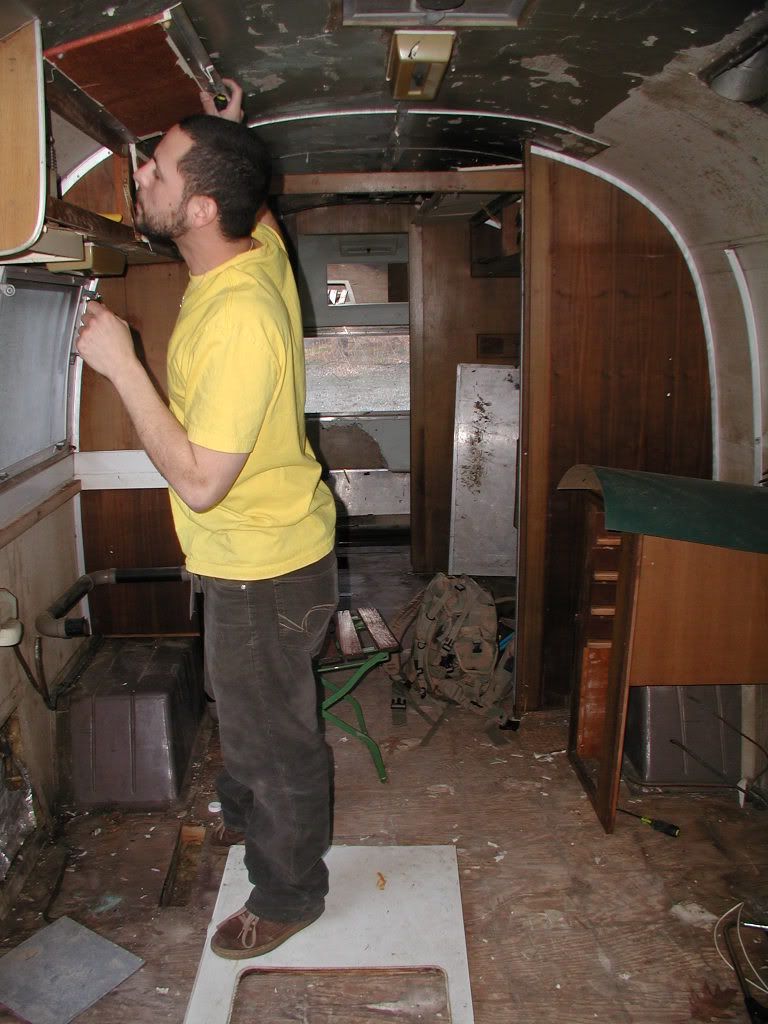
The next phase of the project was to start cutting the aluminum sheets for the interior walls. We bought a rotozip to cut through the sheeting. Will had been talking about buying one for weeks. The airstream project gave him the excuse to finally purchase it! ( Funny how this project is becoming a way for Will to accumulate an entire tool collection.) Turns out the rotozip was an ideal purchase. We had originally planned on cutting the aluminum with tin snips! What a nightmare that would have been! So...with rotozip in hand, he cuts through the first piece with precision and ease.

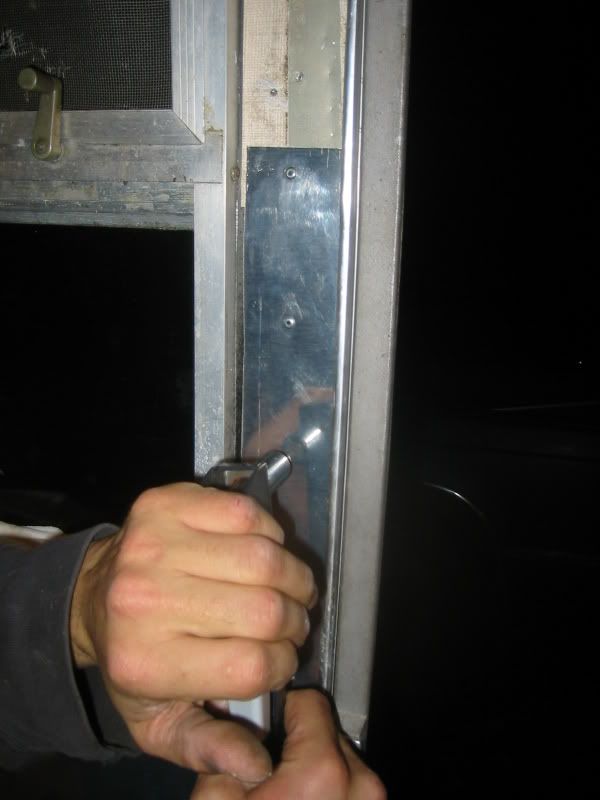
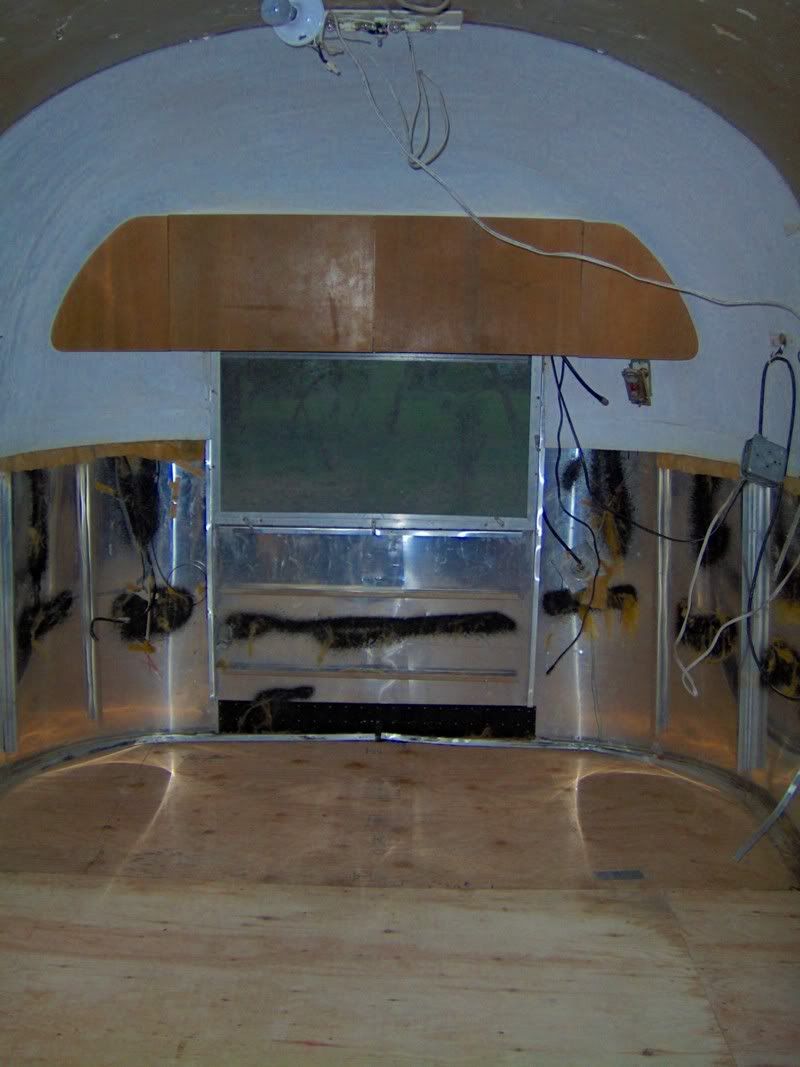
After the first piece was cut, we held it in place. Its a perfect fit! We set up the first rivet in the new rivet gun - I'm the rivet loader and he's the shooter ( another toy to add to his tool collection). Finally, the very first rivet is put into place!

Our motivation is higher now that we finally see things moving along. The hard part is mostly over, and the fun is beginning! We're both excited about finishing the sheeting so we can start to lay down the wood floors and begin to plan where all the furniture and appliances will go! We're building all our own funiture and cabinets for the airstream. (except for the one that is already up in the sitting/eating area)
Next blog: Putting up more aluminum sheeting on the walls, staining the cabinets for the sitting area and painting the small wall section behind cabinets. Its going to be a dark red with a really cool faux finish!
"Nothing will work unless you do." -Maya Angelou